There is no absolute position required for system installation, as long as all the prompts in the installation guide are followed to ensure the system can function properly.
If you have any questions about the following content, you can seek advice from a professional vehicle maintenance personnel, or contact us before installation to clarify your doubts before proceeding with the installation.
If you are unable to install it yourself, please pay the necessary installation fees and have it installed by a professional.
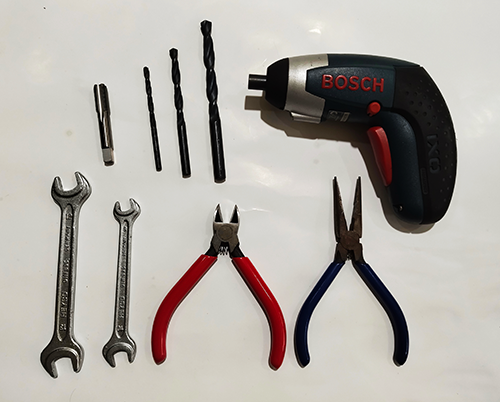
i-t-01
The picture is a suggested tool. Please choose the tool based on ease of use during construction.
Cable ties, insulating tape, etc. are helpful for construction.
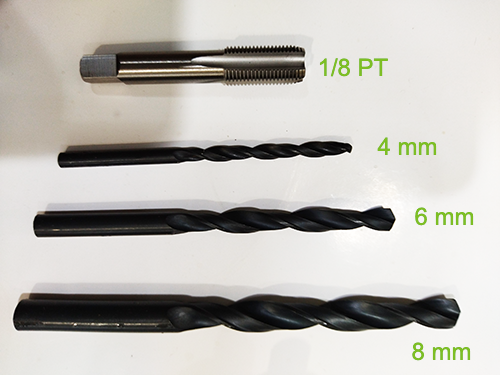
i-t-02
Pictured is the drilling tool for the connection of the pipe to the engine intake system.
In particular, the 1/8 PT tap drill bit is helpful for placing 6 mm pipe quick-connects.
Please choose the best tool according to the convenience of construction.
Silicone, sealant, etc., may aid in conduit construction if necessary.
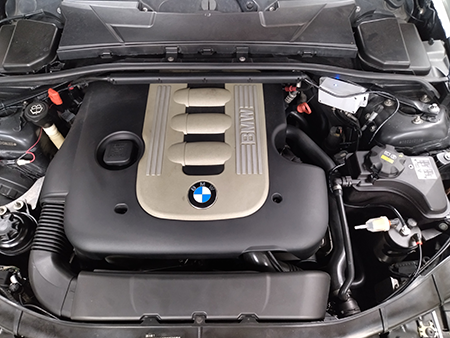
i-01-00
The illustration is an example, which must be considered in the arrangement of the location:
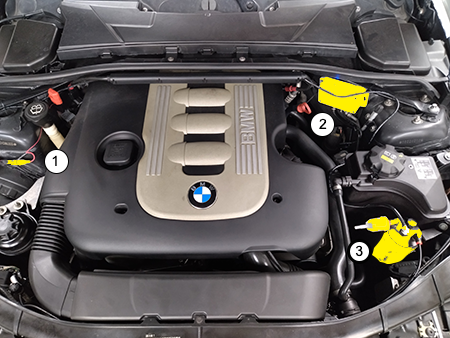
i-02-00
In the diagram, the yellow parts are:
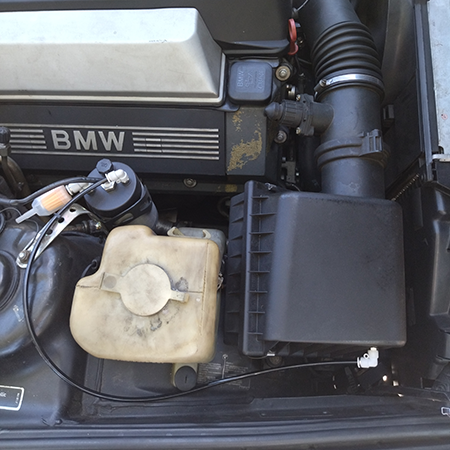
i-03-01
The photo is of the reaction tank piped to the engine「air filter housing」:
Attention:
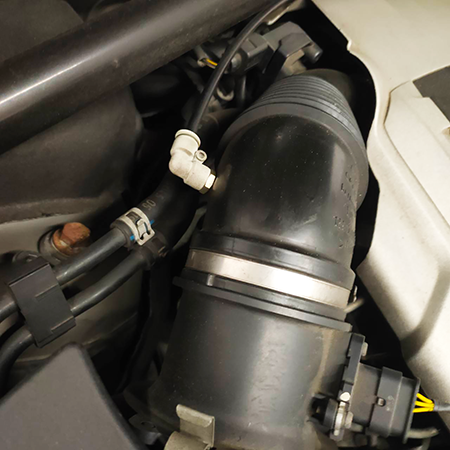
i-03-02
The photo is directly attached to the「Intake pipe」:
Attention:
i-04-00
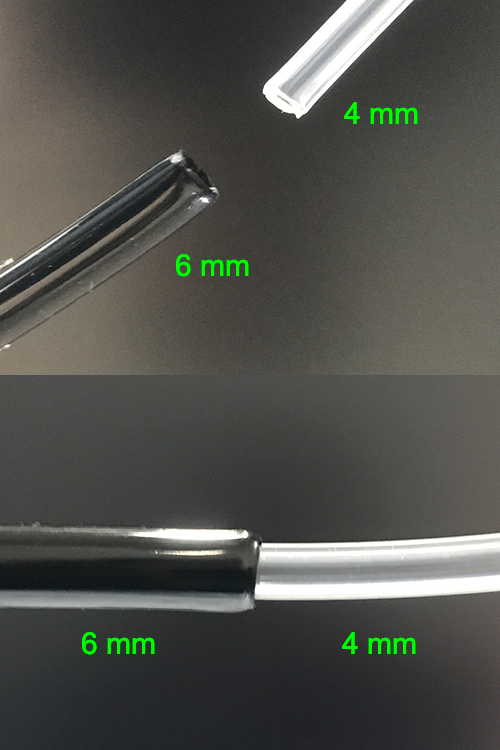
**Very important**
The photo shows the shrinking process of the 6 mm pipe:
i-05-01
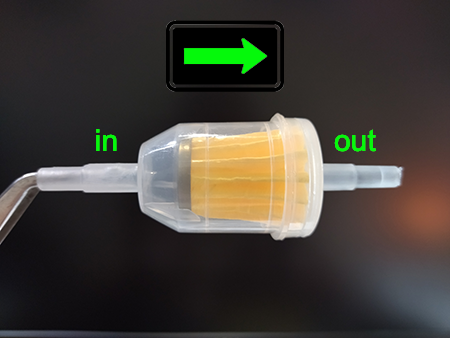
The picture shows the intake filter element of the reaction tank:
Attention:
i-05-02
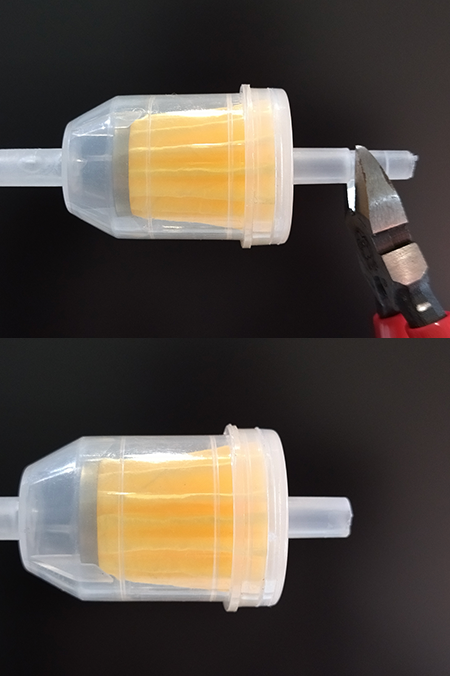
The picture is the modification process of the intake filter joint:
i-06-00
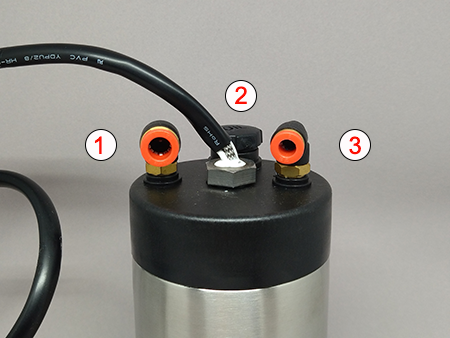
The picture is the reaction tank, and the numbers are marked as follows:
Attention:
i-07-00
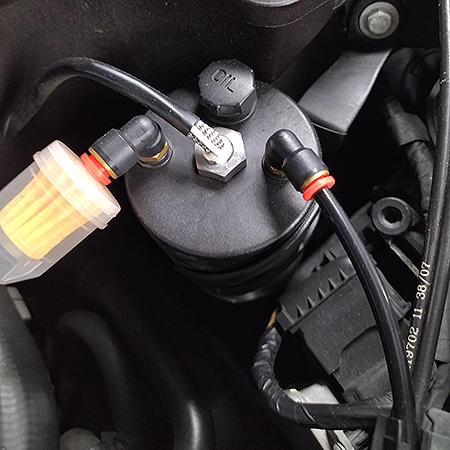
The picture is the actual application of the reaction tank:
Attention:
i-07-01
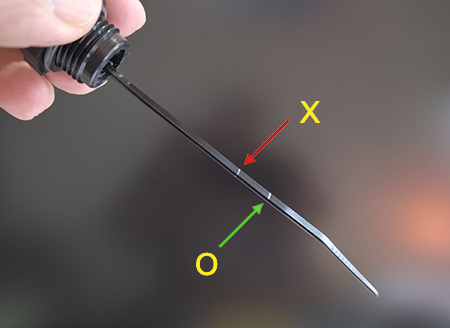
The picture is the application status of the catalyst gauge of the reaction tank:
Attention:
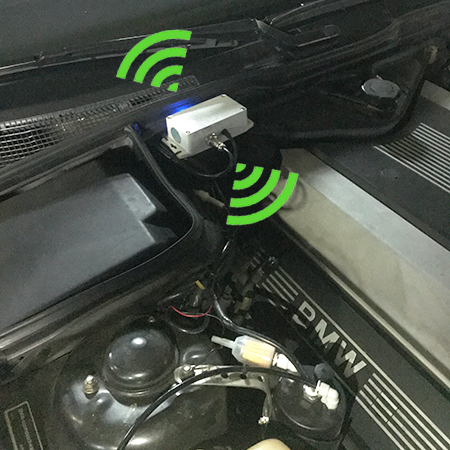
i-08-00
The picture is the actual situation of the controller installation:
Attention: